When visiting your website you may have seen an error message that looks like this, and if you’re seeing this then so are your potential customers.
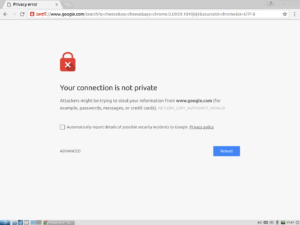
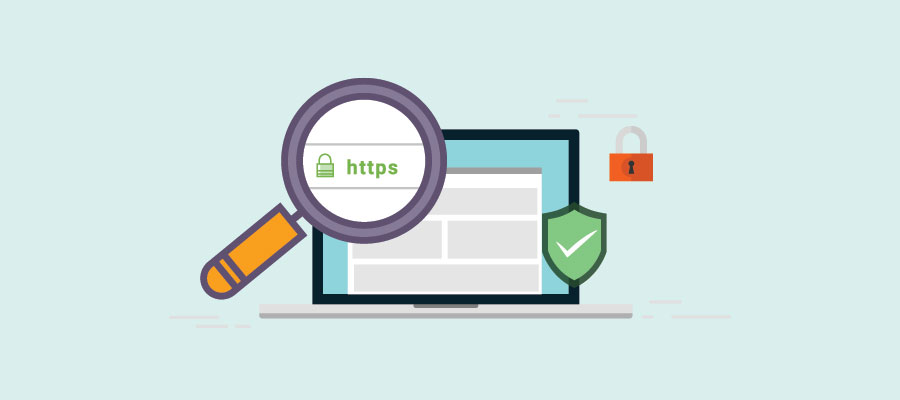
Google are on a mission to get every website on the internet secure. This error message is one way of them forcing you to purchase an SSL certificate. An SSL certificate will add the ‘s’ to your HTTP prefix in the website address bar, and it will also add the nice padlock that makes your visitors feel safe!
Why?
- Any data inputted, transferred and shared on your site can’t be INTERCEPTED or modified!
- It provides a higher level of TRUST and credibility to your website, improving your visitors experience
- It will also improve your PERFORMANCE, as the SSL certificate will allow your site to run on HTTP/2, which speeds us your website drastically.
Here are five simple steps to follow to make your website secure:
- Purchase and install an SSL certificate, so your website can run on HTTPS
Once you have purchased an SSL certificate (you can do this through your hosting provider or from a reputable website such as Lets Encrypt) you’ll then need to install it on your WordPress website. Either your hosting provider will sort this out for you if you ask them or they may even have this functionality built in.
- Switch WordPress to use HTTPS and redirect all the old HTTP pages to your shiny new secure HTTPS versions instead
Once your SSL is installed you need to tell your WordPress website you’re using HTTPS and redirect the old HTTP url’s to the new ones. Before you follow this step, it is wise to take a backup – just in case! Your hosting provider may have a ‘force SSL’ option in which case it’s best to use that to redirect the old HTTP pages. If not, then fear not you can install and active the ‘Really Simple SSL‘ plugin, it will automatically change your WordPress site URL settings and redirects the URLs.
- Update any hard-coded links to the old HTTP pages that are in your content, blog posts, or pages
Unfortunately there is only so far the plugins and automated software can go, if you have hardcoded links within your website you will have to update them yourself. The links will still be redirected as SSL is already installed, however, it is much better practice to change them, it will reduce page speed and help avoid problems in the future. You can use programmes or plugins such as ‘Better Search Replace‘ to do this and it will save a lot of time.
- Fix the dreaded ‘mixed content’ issue that stops your lovely new secure site having a padlock in the address bar
If you’re still not seeing the padlock then do not worry, you likely have mixed content problems, you might still have some images, CSS or javascript that is still using a HTTP link, rather than HTTPS. There are tools and plugins you can use such as ‘Why No Padlock‘ that will tell you what the problem is on your page.
- Fix problems with external services, like social counts, Google Analytics, Google Search Console, things like that.
There is one last thing to do, you need to make sure that you update the URL settings with any external services you use such as Google search console, analytics, email marketing systems, and any social accounts. Hoorah, you should now have a safe and secure website!
… If you have followed all of these steps, waited a short while for any updates to fully configure and are still not seeing the padlock, then give us a call or get in touch.


