Gravatar is an avatar service that many sites and blogs use across the internet. Your ‘Gravatar’ is based on your email address and can be seen on any website or forum where you’ve written or commented using that email. Using a Gravatar instead of just an avatar makes it easy to maintain your identity across the internet and not have to upload pictures to every profile you’ve created.
How do you set up a Gravatar?
Go to gravatar.com . If you already have a WordPress.com account you can just log on using your usual login details – this is different to a standalone, hosted WordPress login, so you may need to start from scratch.
If you haven’t got a WordPress.com account you’ll be asked to fill in your email address. You’ll receive a confirmation email where you can click the link to activate your Gravatar account. You’ll be taken to a page where you can enter your username and other information.
You will then be invited to upload your photo which you can crop or until you get it right.
You can also click on ‘My Profile’ from the menu at the top of the page and fill in some further information about yourself: your name, where you’re based and a little bit about yourself.
You can add emails and images at any time by logging in to your Gravatar account and using the ‘My Gravatars’ tab in the top left hand corner.
How to use Gravatar in WordPress
WordPress allows you to set up your website so that visitors that comment on your posts can use their Gravatar profile and image.
Any version more recent than WordPress 2.5 automatically recognises Gravatars without additional plugins.
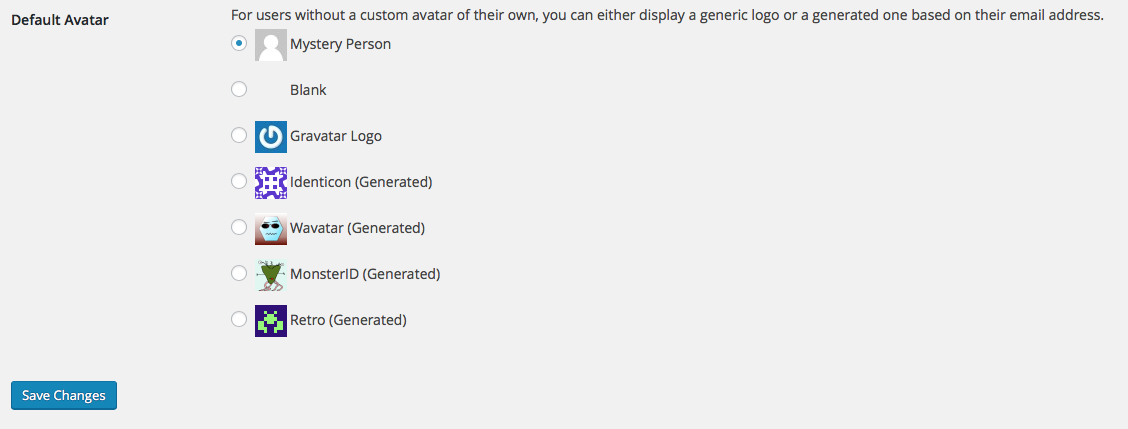
To set it up, log in to your WordPress dashboard, and go to Settings > Discussion. Scroll down to the section designated for Avatars. From here, choose ‘Gravatar Logo’ from the list and then click to ‘Save changes’.